How to Take Body Fat Photos for Accurate AI Results
Quick answer: Use this front, side, back, and mirror-selfie setup to improve AI body fat estimates: lighting, distance, camera height, pose, and timing.
Frequently asked questions
- What photos work best for AI body fat tracking?
- Use bright even lighting, consistent camera height, similar distance, relaxed posture, and the same clothing or shirtless setup. Front, side, and back angles usually improve context.
- Do I need four angles every time?
- No. One clear photo can start a check-in, but multiple angles often reduce noise for body fat, balance, and symmetry interpretation.
Need a practical next step? Start with Body Fat From a Photo, then compare against How accurate is AI body fat estimation from photos?.
If you want broader interpretation beyond body fat context, run an AI Body Analysis App check-in using the same photo rules below.
The quick checklist below covers the highest-impact setup details for desktop searchers comparing photo guides: front, side, back, mirror selfie, camera height, distance, lighting, and relaxed pose.
Use this checklist once, then reuse it for cleaner weekly trends.
Photos are not stored in the LeanLens database after processing.
Start My Photo Check-InFront, side, back, and mirror-selfie rules (quick checklist)
- Same lighting (bright, indirect)
- Same distance (mark the floor)
- Same camera height (mid-torso)
- Same angles (front / side / back)
- Same time of day (morning is easiest)
- Same relaxed pose (not flexed)
If you do only one thing, keep distance + camera height constant.
Front photo rules
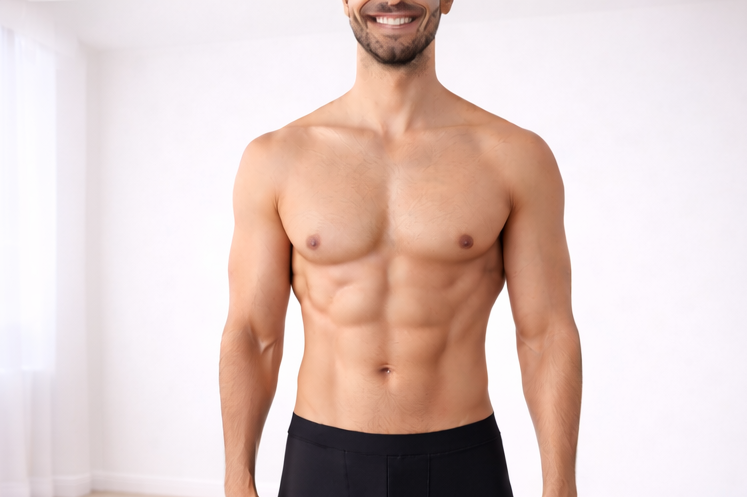
- Stand tall with arms relaxed
- Keep full torso in frame
- Avoid low camera placement (distorts proportions)
Side photo rules
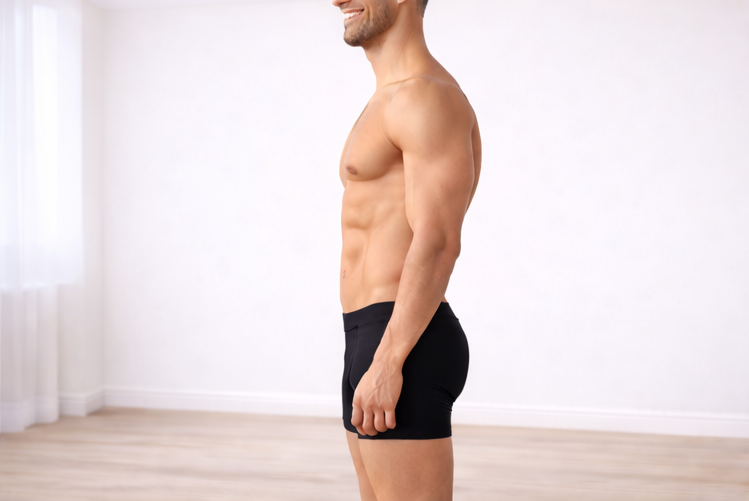
- Maintain neutral posture (don’t over-arch)
- Keep stance and foot placement consistent
Back photo rules
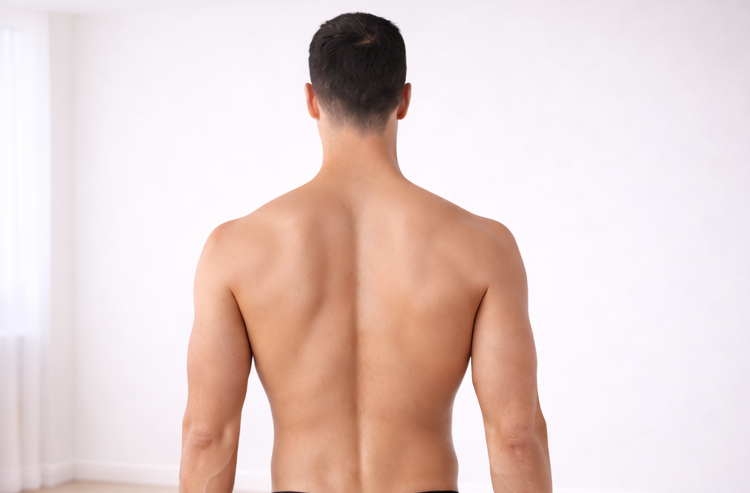
- Match distance to your front/side photos
- Don’t twist to exaggerate lat width
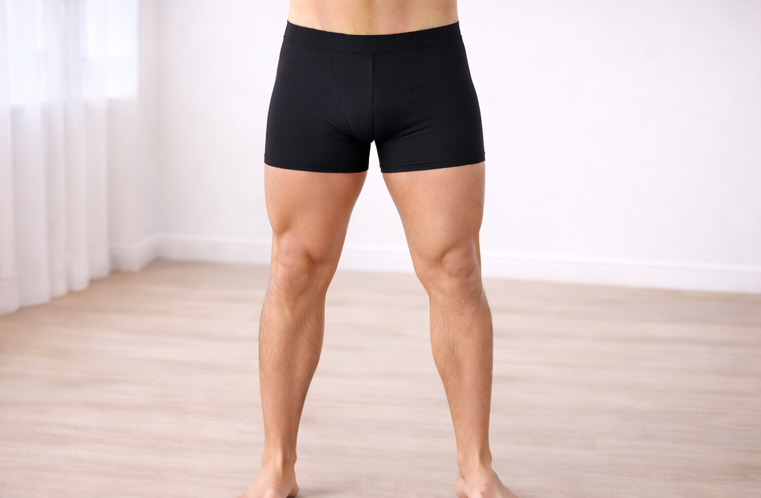
For lower-body tracking, keep one optional legs angle consistent:
Mirror-selfie rules
Mirror selfies are usable if you standardize setup:
- Use the same mirror and phone lens each check-in
- Keep camera centered and at consistent height
- Avoid dramatic perspective by standing too close
Mirror selfies fail when angle and distance drift. They work when setup is repeatable.
Shirtless male/mirror-selfie estimation notes
If your goal is to estimate a body fat range from shirtless male mirror selfies, keep these constant:
- same mirror
- same camera height
- same stance
- same lighting direction
Then compare trends over 2-4 check-ins instead of judging one photo.
Clothing, lighting, and distance mistakes
- Changing clothing fit changes visible definition
- Harsh lighting can fake leanness
- Small distance shifts can mimic progress
Treat each check-in like a controlled test, not a new photoshoot.
Use LeanLens with this setup
Once your setup is repeatable, LeanLens outputs become easier to trust:
- confidence context is more meaningful
- range comparisons are less noisy
- next-step guidance is easier to apply
Related routes
Upload one consistent photo now and use the same setup next week.
Photos are not stored in the LeanLens database after processing.
Try Free AI Body Analysis